
The Power of High-Resolution Transparent Graphics
In modern digital crafting and custom merchandise production, high-resolution transparent PNG graphics are among the most versatile creative assets available. Unlike flattened JPEGs with solid white background rectangles, genuine 32-bit RGBA PNG illustrations allow designers and crafters to layer artwork seamlessly over textured watercolor paper, pastel apparel, patterned tumblers, and digital planner spreads.
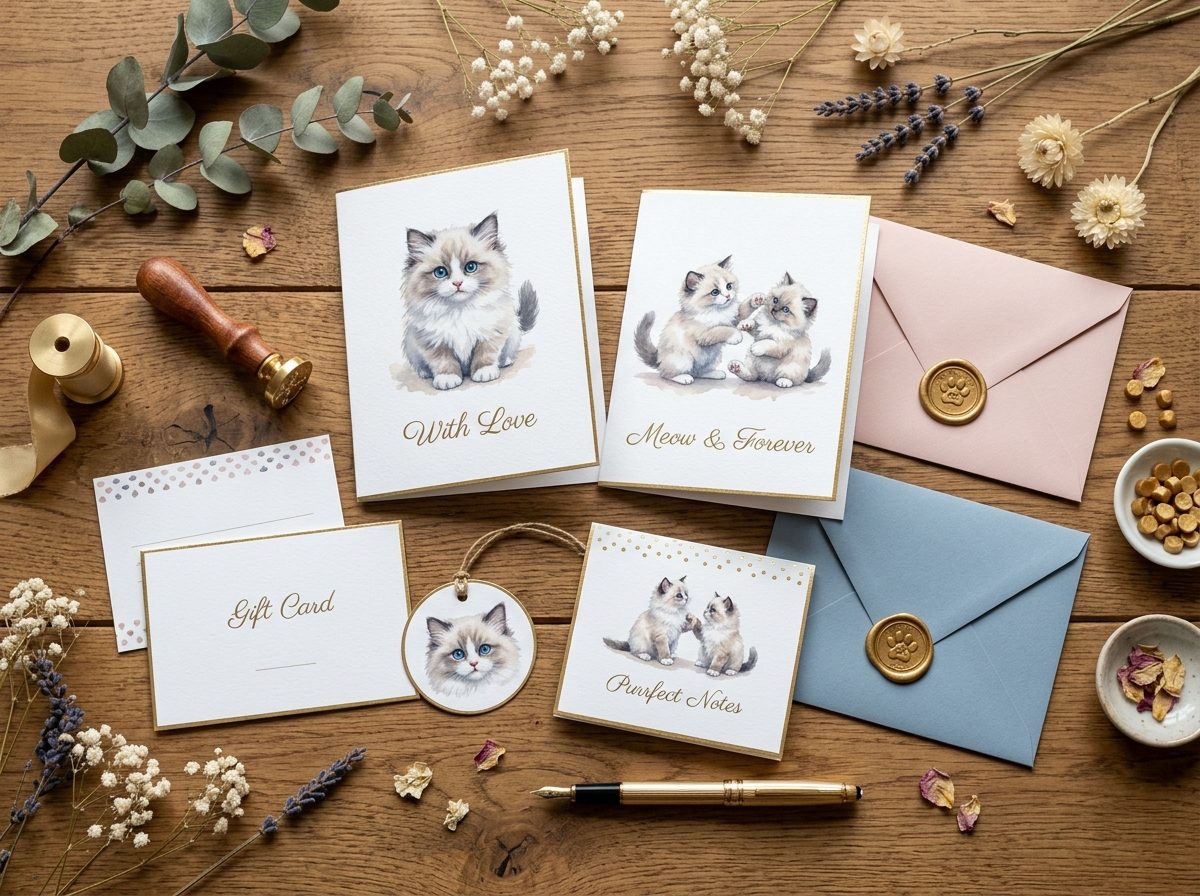
Whether you are printing vibrant sublimation coffee mugs with our Italian Culinary Herbs Clipart Set, producing die-cut feline stickers with the Ragdoll Cat Clipart, or curating seasonal party stationery with Cute Ghost Clipart, understanding file resolution, color gamuts, and heat transfer chemistry ensures flawless physical results.
In this comprehensive guide, we examine the technical mechanics of transparent graphics across sublimation printing, cutter machine contour calibration, and digital iPad planning.
1. File Anatomy: What Makes an Authentic 300 DPI Transparent PNG?
Not all PNG files are created equal. When evaluating digital assets for commercial physical production:
- **32-Bit RGBA Color Model**: Standard images use 24 bits (8 bits Red, 8 bits Green, 8 bits Blue). Transparent PNGs feature a fourth 8-bit *Alpha Channel* (A) that defines the exact opacity percentage of every pixel from 0% (fully transparent) to 100% (fully opaque).
- **Smooth Anti-Aliasing (No White Halos)**: Poorly cut-out digital graphics often exhibit a 1-pixel white halo along borders. Professional clipart undergoes hand-calibrated contour edge masking so pixels blend smoothly against dark and light backgrounds alike.
- **3500 × 3500 Pixel Master Dimensions**: Printing a 10-inch tote bag graphic at 300 DPI requires at least 3,000 pixels. Every Reedfold clipart element is rendered at a massive **3500 × 3500 pixels**, providing crystal-clear fidelity from 1-inch kiss-cut stickers up to large canvas wall prints.
2. Color Management & ICC Profiles for Vibrant Prints
Sublimation dyes appear dull on paper before pressing; they develop full vibrancy only after heat activation:
- **sRGB Color Space vs. CMYK**: Keep your source PNG files in sRGB color space. Your sublimation printer driver (such as Sawgrass Print Manager or Epson ICC profile) will translate digital RGB values into precise dye droplet densities.
- **ICC Profile Pairing**: Pair your printer profile with your specific brand of sublimation ink and transfer paper (e.g., A-SUB 125g paper with Hiipoo or Cosmos ink). This prevents muddy skin tones and shifts in dark greens.
3. Sublimation Printing Masterclass (Drinkware, Mugs & Textiles)
Sublimation is a chemical phase-change process where solid dye particles on transfer paper turn directly into gas under intense heat, infusing into polyester polymer chains.
Substrate Requirements
- **100% Polyester Coating**: Standard untreated ceramic mugs or 100% cotton shirts cannot absorb sublimation dye. Substrates must feature a factory-applied polyester polymer coating or contain minimum 65% polyester textile content.
- **White or Light Pastel Surfaces**: Sublimation dyes are translucent; they cannot print white ink. The substrate color shows through translucent dye.
Sublimation Parameters Matrix
| Substrate | Temperature (°F / °C) | Time (Seconds) | Pressure | Peel Type |
| :--- | :--- | :--- | :--- | :--- |
| **Ceramic Mugs (11oz / 15oz)** | 385°F–400°F (196°C–204°C) | 180–210s | Medium-Firm | Immediate Hot Peel |
| **Stainless Steel Tumblers** | 380°F (193°C) | 50s + rotate 50s | Firm Clamp | Immediate Hot Peel |
| **Polyester Apparel / Totes** | 385°F (196°C) | 45–55s | Medium (40 psi) | Immediate Hot Peel |
| **Hardboard Coasters / Puzzles** | 400°F (204°C) | 60–75s | Medium-Firm | Immediate Hot Peel |
Preventing Sublimation Ghosting & Bleed
- **Pre-Heat Substrates**: Ceramic mugs have high thermal mass. Pre-heat empty mugs in your press for 10 seconds before taping your transfer to eliminate cold-spot color fading near handles.
- **Thermal Tape Anchoring**: Secure sublimation paper tightly against substrates using high-temperature thermal polyimide tape. Paper movement during clamp release is the #1 cause of blurry ghosting.
- **Butcher Paper Barrier**: Always place clean unwaxed blowout butcher paper above and below your substrate to catch stray dye gas and prevent platen contamination.
4. Cricut & Silhouette "Print-Then-Cut" Sticker Mastery
Contour cutting watercolor clipart into die-cut vinyl stickers and planner decals requires precise margin handling:
- **Upload as Complex Image**: In Cricut Design Space, select **Upload Image -> Complex**. Because the alpha transparency is pre-baked, do not use the background eraser tool.
- **Add a Smooth White Offset**: Select your clipart on the canvas and click **Offset**. Set distance to **0.08 inch to 0.12 inch (2.0mm–3.0mm)** with rounded corners. Change the offset layer color to pure white (`#FFFFFF`) and click **Flatten** with the artwork.
- **Printer Settings (System Dialog)**: Never print through default browser dialogs. Toggle **Use System Dialog** on. Set paper type to *Premium Matte Presentation Paper* or *High Gloss Photo Paper* and print quality to **High / Max (1200+ DPI)**.
- **Calibrate Cutter Sensor**: If your machine cuts slightly off-center, run the machine's internal Print-Then-Cut calibration sheet under bright, non-glare overhead lighting.
5. GoodNotes, Notability & iPad Digital Planning
For digital journal enthusiasts and iPad creators:
- **Direct Drag-and-Drop**: Split-screen your iPad with the Files app on one side and GoodNotes on the other. Drag individual 3500px PNGs directly into your planner pages.
- **No White Boxes**: Graphics layer naturally over grid, dot-matrix, and dark-mode planner templates.
- **Zero Loss Resizing**: Scale elements down to functional icons or enlarge as cover headers without pixelation.
Explore our full library of transparent illustrations in the PNG Clipart Bundles Category and discover our curated Farmhouse Clipart Bundle.