
Precision Vector Engineering Meets Physical Crafting
Crafting custom multi-color apparel—such as teacher team crewnecks, pediatric nurse scrub jackets, personalized holiday totes, and baby bodysuits—is one of the most rewarding branches of digital crafting. When working with intricate vector files like our First Day School SVG, Teacher SVG Bundle, or Nurse Life SVG Bundle, achieving crisp, retail-grade alignment between color layers requires a solid understanding of vector mathematics, blade dynamics, and thermal shrinkage.
Many crafters struggle with visible gaps appearing between adjacent colors, melted carrier sheets, stiff bulky vinyl patches, and letters lifting after the first wash cycle. These defects are not caused by machine faults; they result from improper heat-press timing and thermal expansion mismatches.
This masterclass breaks down the complete end-to-end multi-color HTV workflow from Design Space preparation to final garment cure.
1. Deconstructing the SVG Cut File Architecture
Before touching your vinyl cutter, understanding how professional SVG vector paths operate is essential:
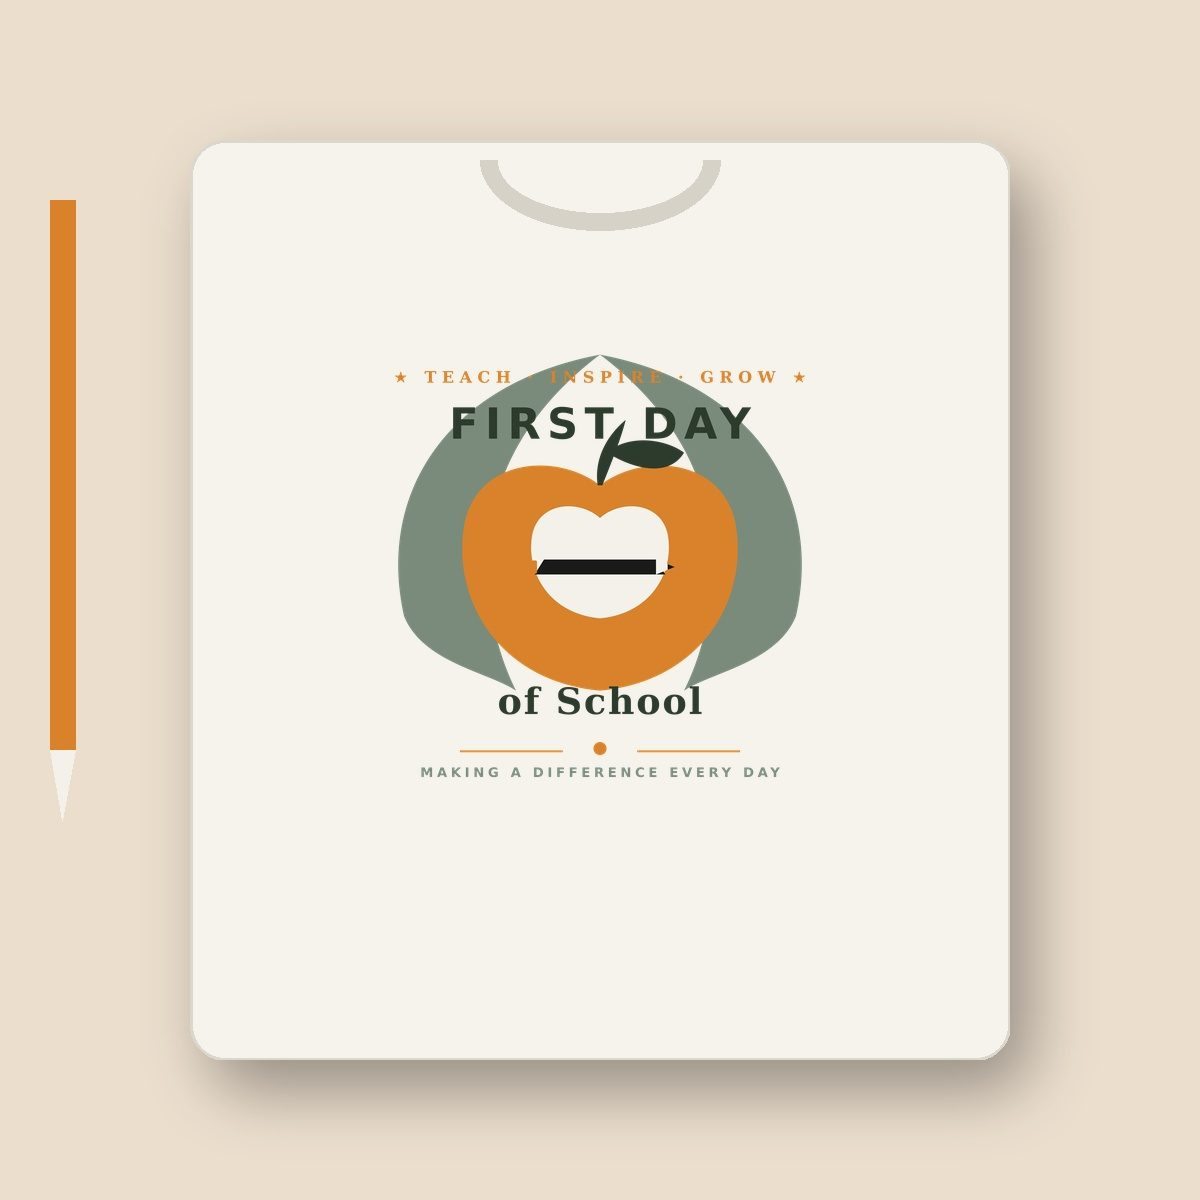
- **Layer Grouping by Color**: Premium craft cut files are pre-welded and organized into discrete color layers. In our First Day School SVG, the composition separates cleanly into Forest Green leaves, Terracotta Ochre apple silhouette, Warm Cream typography accents, and Deep Charcoal script text.
- **Node Count Optimization**: Low-quality auto-traced vectors contain thousands of micro-nodes that cause cutting plotters to stutter, chewing through vinyl and creating jagged edges. Reedfold vectors are drawn with clean, continuous Bézier paths averaging fewer than 260 nodes per major element, ensuring ultra-smooth high-speed cutting.
- **Zero-Overlap Contours**: Layered vectors should fit together like puzzle pieces (*butt-joint alignment*) or feature a microscopic 0.02-inch trap margin to prevent bulky vinyl buildup that makes shirts feel like heavy plastic cardboard.
2. Machine Setup & Cutting Calibration
Cricut Design Space & Silhouette Studio Preparation
- **Import the Master SVG**: Upload the `.SVG` file directly from your delivery ZIP archive. Do not use low-res raster PNGs for cut jobs.
- **Check Mat Grouping**: Review the canvas. Ensure every color group corresponds to a distinct mat.
- **The Mirror Rule**: Toggle **Mirror (Horizontal)** on for every single mat. Because HTV is cut from the reverse adhesive side through the heat-resistant clear carrier, cutting unmirrored text will result in backwards lettering on your shirt.
Blade Depth & Pressure Calibration
- **Blade Selection**: Use a 45-degree Premium Fine-Point carbide blade. Inspect the blade tip under magnification to ensure no micro-shards of vinyl adhesive are stuck to the housing.
- **Material Setting**: Select *Everyday Iron-On* (or *HTV - Polyurethane*). If cutting thin 80-micron matte vinyl, set pressure to **Default**. If cutting glitter or flock accent layers, switch to *Glitter Iron-On* with a 60-degree Deep-Point blade.
- **Test Cut Strip**: Always cut a 0.5-inch test triangle/circle on a scrap vinyl corner before sending your full design. The blade should slice cleanly through the colored vinyl layer without piercing the clear plastic carrier backing.
3. The Professional Weeding Protocol: Inside-Out Technique
Weeding intricate script text without lifting delicate loops requires structured mechanics:
- **Warm Weeding Surface**: If working in a cold studio, place your cut vinyl sheet onto a heated press platen (warmed to 120°F / 50°C) for 5 seconds. Gentle ambient warmth softens the carrier adhesive, allowing excess vinyl to peel away like butter.
- **Inside Cavities First**: Use a fine-point ergonomic weeding hook. Weed all interior counters (the centers of letters *e, a, o, d, g, p* and small leaf veins) first. Why? Because the surrounding un-weeded vinyl sheet holds the carrier firmly in place, preventing tiny letter strokes from shifting.
- **The 45-Degree Peel**: Grab the outer background margin and peel slowly at a flat 45-degree backward angle against the table. Never pull straight up at 90 degrees, which pulls delicate flourishes off the carrier.
4. Garment Preparation: The Crucial Pre-Press
Never apply vinyl to a cold, un-pressed garment straight out of the package:
- **Moisture Elimination**: Cotton and poly-blend textiles absorb ambient humidity. When heated under a press, this trapped moisture turns to steam, pushing outward and creating bubbles beneath the vinyl adhesive.
- **Fiber Pre-Shrinkage**: Cotton shrinks up to 3% during its first heat cycle. Pre-pressing shrinks the fabric before you align your vinyl layers.
- **Pre-Press Parameters**: Press your blank garment at **315°F (157°C) for 5 to 7 seconds with firm pressure**.
- **Fold for Centerline**: Fold the shirt in half lengthwise, matching shoulder seams and armpits. Press for 3 seconds to create a crisp center crease that acts as your vertical alignment guide.
5. The Multi-Layer "Tack Press" Masterclass
The single greatest mistake in multi-color heat transfer is giving each layer a full 15-second press cycle. If you have 4 colors, the bottom layer receives 60 seconds of heat—burning the adhesive, shrinking the carrier, and warping the garment.
The Professional Tack Schedule (315°F / 157°C, Medium Pressure 40 psi)
```
[ Layer 1: Background Silhouette / Leaves ] ──> 2–3s Tack ──> Warm Peel
[ Layer 2: Middle Accent / Apple Body ] ──> 2–3s Tack ──> Warm Peel
[ Layer 3: Secondary Accent / Details ] ──> 2–3s Tack ──> Warm Peel
[ Layer 4: Final Top Layer & Script ] ──> 15s Full Cure ──> Cool Peel ──> 5s Reverse Press
```
- **Layer 1 (Bottom Silhouette)**: Position your base layer. Cover with a Teflon or silicone craft sheet. Press for **2 to 3 seconds only**. The vinyl only needs to adhere lightly to release from its clear carrier. Peel carrier warm.
- **Layer 2 & 3 (Accents)**: Align next color layers. Cover the entire design with Teflon so exposed bottom vinyl is protected from direct heat platen contact. Press for **2 to 3 seconds**. Peel carrier.
- **Layer 4 (Top Script & Outlines)**: Align the final layer. Cover with Teflon. Apply the **full 12 to 15-second heat cycle with firm downforce (45–50 psi)**.
- **The Reverse Post-Press**: Flip the garment inside out. Press from the backside for **5 seconds**. This draws the melted thermoset polyurethane adhesive deep into the textile fibers without surface scorching.
- **Texture Inspection**: When properly applied, the texture of the fabric's textile weave should be faintly visible through the surface of the vinyl. If it looks like a thick, glossy rubber patch, pressure or heat was too high.
6. Commercial Washing & Durability Guidelines
When producing physical shirts for clients under our commercial license:
- **Cure Time**: Instruct customers to wait **at least 24 to 48 hours** before the first laundering.
- **Washing Instructions**: Turn shirt inside out. Wash in cold or warm water (max 40°C / 105°F) with mild detergent.
- **Avoid Additives**: Never use chlorine bleach or liquid fabric softeners (softeners coat textile fibers and break chemical adhesive bonds).
- **Drying**: Tumble dry on low heat or hang dry in shade. Do not iron directly over vinyl graphics.
Explore our full range of production-ready vector designs in the Featured SVG Craft Designs Collection and browse specialized categories like Nurse SVG Cut Files and Holiday SVG Mega Bundle.