
The Emotional Resonance of Tangible Culinary Heritage
Few objects in a home carry emotional resonance quite like the dishes passed down through generations. A grandmother's handwritten marinara recipe scribbled on a flour-dusted index card, a mother's holiday baking notes with butter stains in the margins, or an aunt's secret spice ratios represent far more than culinary instruction—they are tangible artifacts of family heritage and love.
In an era dominated by fleeting digital bookmarks, ad-cluttered food blogs, and smartphones that shut off mid-prep when your hands are covered in dough, curating a physical culinary archive brings grounded elegance, focus, and tactile warmth back into the modern kitchen.
In this masterclass, we explore the science and art of archiving family recipes: from chemical paper selection and pigment ink bonding, to home printer duplex registration, protective coatings, and curating an Italian farmhouse kitchen gallery wall.
1. Why Digital Recipe Storage Fails the Modern Home Cook
While recipe management apps and bookmarked URLs offer organizational speed, they introduce severe practical friction during active cooking:
- **The Flour-and-Egg Screen Problem**: Unlocking a touch-screen device or scrolling through a lengthy online blog with wet, greasy, or flour-covered hands repeatedly soils expensive electronics.
- **Sleep Mode & Battery Drain**: Devices automatically sleep just as you reach the critical timing of a reduction sauce or caramelization phase, requiring frantic touching to wake the screen.
- **Digital Link Rot**: Websites shut down, food blogs change domains, and saved social media bookmarks disappear. A physical card in a solid walnut recipe box remains accessible 50 years from now.
- **Architectural Aesthetic**: A smartphone lying on a kitchen counter adds visual clutter. A curated set of botanical recipe cards resting in an oiled timber box or framed in brass transforms utility into high-end interior decor.
2. Paper Science: Selecting Archival Cardstocks
When archiving recipes intended to be handled across generations in high-humidity kitchen environments, standard 80 GSM copy paper or generic 200 GSM index cards are inadequate. Understanding paper composition ensures your heirloom cards endure without yellowing or cracking.
Paper Composition & Weight Comparison
- **100% Cotton Rag Cardstock (280–320 GSM / 110–120 lb Cover)**: The undisputed gold standard. Manufactured from cotton linters rather than tree pulp, cotton paper contains zero acidic lignin. It possesses exceptional tensile strength, absorbs ink deeply into the fiber weave, and remains supple even after decades of storage.
- **Matte Archival Linen (250–300 GSM)**: Features a delicate embossed cross-hatch woven texture reminiscent of antique European kitchen towels. Excellent for framed kitchen wall displays where texture catches ambient lighting.
- **Unbleached Kraft Cardstock (240–280 GSM)**: Earthy, warm, and natural. Best suited for rustic farmhouse gift sets, bridal shower recipe swaps, and outdoor barbecue recipe boxes.
- **Avoid Standard Acidic Wood-Pulp Cardstock**: Cheap cellulose cardstocks break down within 5 to 10 years when exposed to kitchen steam, turning yellow and brittle.
3. Printing Technology: Pigment Inks vs. Dye Inks
Not all inkjet printers produce archival results. When printing cards for your own kitchen or physical goods to sell under our commercial license:
- **Pigment-Based Inks**: Essential for heirloom kitchen stationery. Pigment inks consist of microscopic colored mineral particles suspended in liquid. Upon printing, these particles lock into paper fibers, creating waterproof, UV-stable marks that do not bleed when touched with damp fingers.
- **Dye-Based Inks**: Common in budget home printers. Dye inks dissolve in water. A single splash of water or steam plume from a boiling stockpot will dissolve dye ink lines, ruining handwritten notes.
- **Laser Printing (Toner Fusion)**: Color laser toner is melted plastic resin. While inherently waterproof, thick toner layers on heavy 300 GSM cardstock can crack along card edges if folded. If using laser, use smooth matte cardstock.
4. Perfecting Duplex Printing & Margin Registration
Printing double-sided cards at home (such as standard 4x6 inch and 5x7 inch layouts) often results in the back side shifting 2–3 millimeters out of alignment with the front. Follow this professional registration protocol:
- **Use the Manual Bypass Feed Tray**: Never load heavy 300 GSM cardstock into the bottom paper cassette tray. Bottom trays force paper through a 180-degree rubber roller bend, causing traction slippage. Use the rear manual feed slot for a flat, straight paper path.
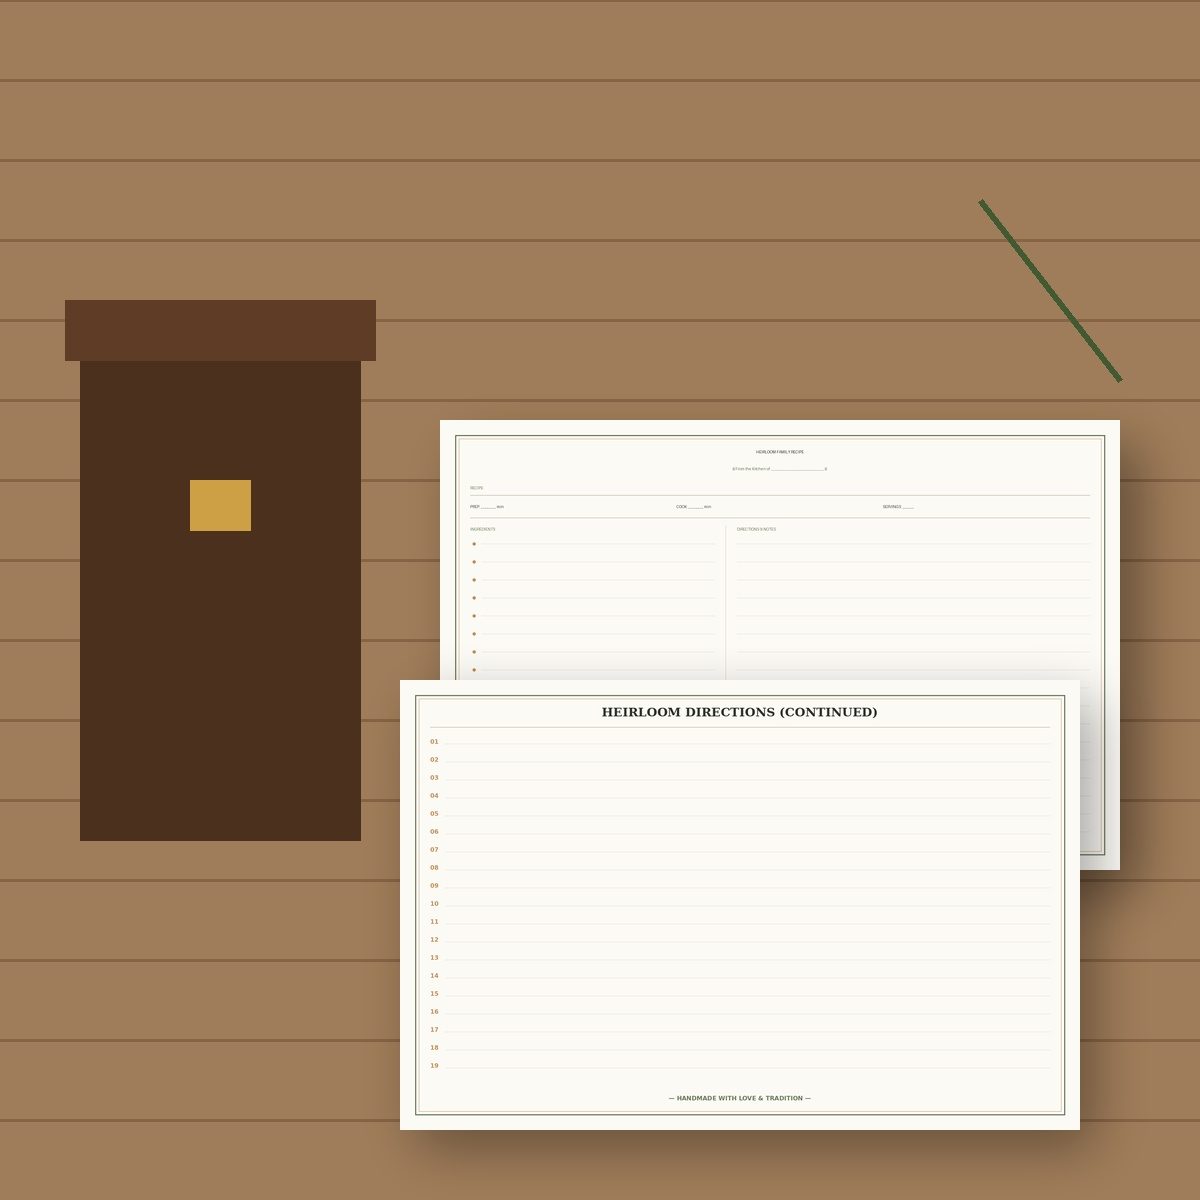
- **Print from Multi-Up Master Sheets**: Our Family Recipe Card Printable includes multi-up US Letter and ISO A4 PDF sheets with corner crop marks. Printing multiple cards on a single sheet prevents small cards from shifting during feeding.
- **Calibrate Duplex Feeding**: Print the front sheet first. Allow ink to dry for 60 seconds. Flip the sheet along its long edge, reload into the rear tray, and print the back page.
- **Trimming Along Crop Marks**: Always use a rotary heavy-duty paper trimmer or a metal cork-backed ruler with a sharp #11 hobby blade. Cut along the corner tick marks, but do not slice all the way off the paper edge so reference guides remain visible for all four cuts.
5. Spill Protection: Sealing Without Plastic Glare
Traditional plastic lamination protects against liquids but gives recipe cards an artificial, cheap diner-menu appearance. To maintain museum-grade tactile beauty while adding water resistance:
- **Archival Matte Fixative Spray**: Lay trimmed recipe cards flat on kraft paper in a ventilated room. Spray two light mists of Lascaux Fine Art Fixative or Krylon UV Archival Matte from 12 inches away. The micro-crystalline acrylic barrier repels accidental sauce drops while keeping paper velvety to the touch.
- **Acrylic Recipe Stands During Cooking**: When actively preparing a dish, slide the card into a clear freestanding 5x7 acrylic stand or clip it to a wooden cookbook easel to keep it elevated above counter puddles.
6. Curating a Tuscan Heritage Kitchen Gallery Wall
Elevate your kitchen by framing family heirloom dishes alongside classic botanical citrus and herb art pieces:
Layout Formula: The Tuscan Triad
- **Centerpiece (5x7 Framed Card)**: House a handwritten or typed Family Recipe Card in an unlacquered brass floating glass frame.
- **Left Anchor (8x10 or 11x14 Print)**: Display the Lemon Kitchen Print to introduce bright Mediterranean warmth and historical engraving detail.
- **Right Anchor (8x10 or 11x14 Print)**: Complement with watercolor botanicals from the Italian Culinary Herbs Clipart Set or vintage plates from the Antique Botanical Print.
- **Mounting Height**: Keep the horizontal center of the display at 58 inches from the floor, or 8 inches above counter backsplashes.
7. Step-by-Step Archiving Master Workflow
- **Audit & Standardize**: Transcribe original handwritten cards into standardized sections: *Dish Title, Yield/Servings, Prep Time, Cook Time, Ingredients by Volume/Weight, and Step-by-Step Instructions*.
- **Select Typography or Handwriting**: Use the fillable PDF to type clean archival serif text, or print blank cards and transcribe by hand using archival waterproof micron pigment pens (0.3mm Pigma Micron).
- **Trim & File**: Organize completed cards into categorized tab dividers (*Primi, Secondi, Dolci, Holiday Bakes, Preserves*) within a solid oiled walnut or brass recipe tin.
Explore our full range of heritage culinary printables and rustic kitchen art in the Nonna Holiday & Italian Kitchen Collection and discover more wall art in the Wall Art & Prints Catalog.