
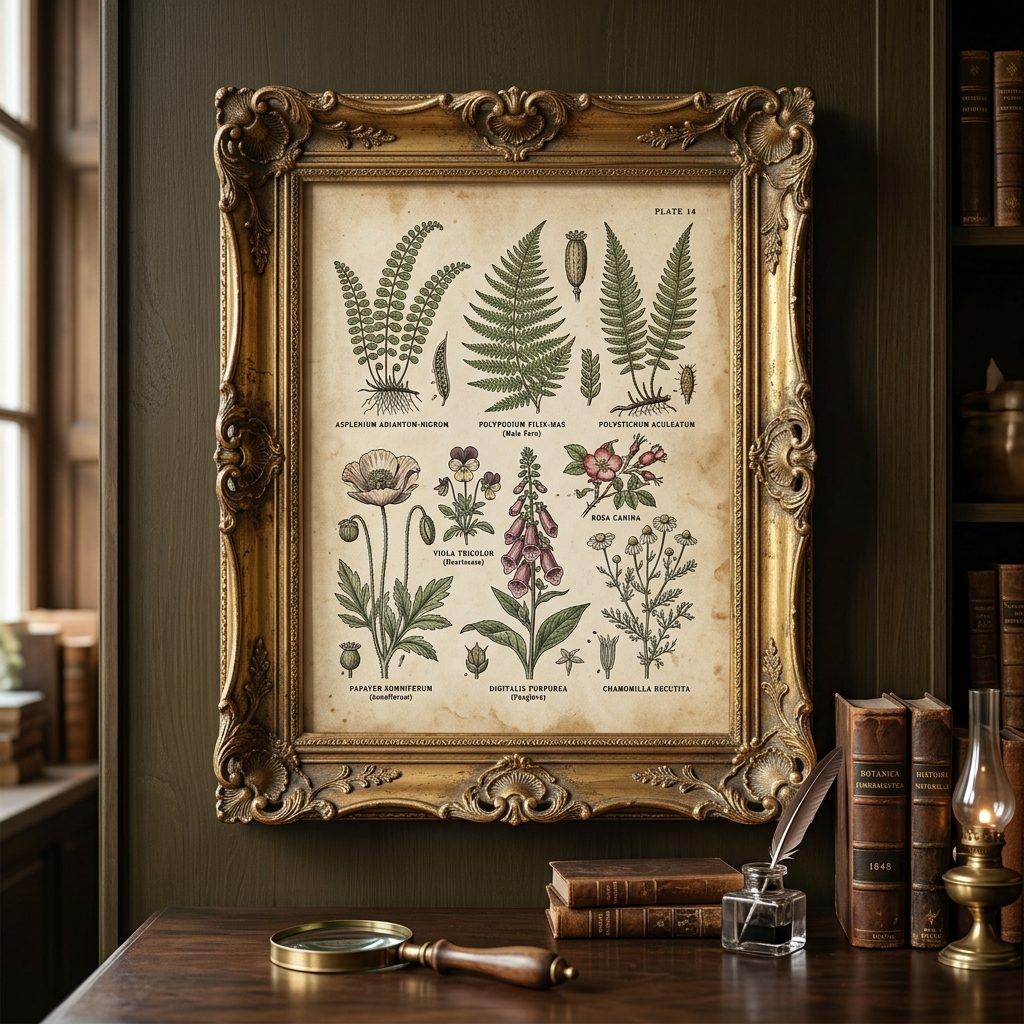
The Resurgence of 19th-Century Herbarium Aesthetics
In an era saturated with mass-produced minimalist prints and sterile synthetic decor, Victorian cottagecore and English country house styling offer a deeply comforting return to organic history, natural science curiosity, and romantic warmth. At the center of this design philosophy is the botanical gallery wall—a curated collection of 19th-century European herbarium plates, vintage copperplate floral engravings, and antique medicinal plant studies.
When properly executed using museum-grade master print files like our Antique Botanical Print and the Vintage Botanical & Herbarium Art Bundle, a gallery wall transforms blank drywall into an architectural focal point reminiscent of an Oxford herbarium library or a Cotswolds country manor.
In this comprehensive styling masterclass, we explore the geometry of gallery layout math, archival paper chemistry, frame thrift-hunting strategies, and directional lighting.
1. Paper Chemistry: Replicating Historical Parchment Patinas
The most common reason DIY gallery walls look artificial is the use of modern, high-gloss photographic paper. Historical botanical engravings were printed on hand-milled rag paper with warm, unbleached cotton fibers.
Recommended Paper Specs
- **Cotton Rag Fine Art Paper (280–310 GSM)**: Possesses a delicate velvety texture and natural warm ivory hue that perfectly renders the subtle tea-stained patinas and delicate copperplate linework of 1800s botanical plates.
- **Archival Matte Velvet Paper (250–300 GSM)**: Completely non-reflective. Eliminates harsh overhead light glare, ensuring fine leaf venation and Latin botanical taxonomy text remain legible from all viewing angles.
- **Print Resolution**: Always output using 300 DPI master files. Ensure your commercial lab (Mpix, FinerWorks, Nations Photo Lab) prints at **100% scale without auto-cropping or edge-bleed distortion**.
2. Layout Geometry: The 58-Inch Museum Centerline Formula
Professional curators never guess hanging heights. They calculate optical centerlines:
```
[ Floor to Centerline = 58 Inches (147 cm) ]
Formula for Hanger Placement:
(Total Frame Height ÷ 2) + 58 Inches - Distance from Frame Top to Wire/Hook
```
Step-by-Step Gallery Wall Layout
- **Floor Template Mapping**: Lay large sheets of butcher paper on your floor. Arrange your framed botanical prints on the floor until the balance feels organic yet ordered.
- **Trace & Mark Hooks**: Trace around each frame with a pencil and mark the exact hanging bracket position.
- **Tape to Wall**: Tape the paper templates to your wall with painter's tape, ensuring the collective grouping's center aligns with the 58-inch mark.
- **Drive Hardware & Hang**: Drive picture hanging nails directly through the paper template markings, tear the paper away, and mount frames with zero wall damage or miscalculated holes.
3. The Art of the "Collected Over Time" Frame Mix
Uniform gallery-wall kits containing 10 identical black plastic frames feel sterile. Authentic Victorian estate interiors look as though they were assembled across generations:
- **Ornate Gilded Gold**: Hunt thrift shops and antique markets for frames with baroque acanthus leaf scrollwork, beaded inner lips, and aged gold-leaf finishes.
- **Rich Dark Walnut & Burl Wood**: Deep brown timber frames anchor the display with earthy weight, preventing gold finishes from appearing overly formal.
- **Acid-Free Matting (Negative Space)**: Use 2.0-inch to 3.5-inch wide 4-ply archival mat boards in warm cream, soft linen, or antique sage. Matting creates a visual breathing zone between intricate botanical illustrations and ornate frames.
- **Spacing Uniformity**: While frame profiles vary, maintain a strict **2.0 to 2.5 inches (5–6.5 cm) of spacing between outer frame edges** across the entire installation.
4. Curating Visual Rhythm Across Plant Species
When assembling 4 to 12 prints in a grid or salon-style cluster, balance visual weight across the composition:
- **Anchor with Dense Plates**: Place heavier, dark-foliage prints (such as ferns and deep-green eucalyptus) along the bottom row to ground the arrangement.
- **Float Delicate Stems Above**: Position airy, delicate floral etchings and single-stem wild herbs (like chamomile and lavender) on upper rows.
- **Incorporate Warm Citrus**: Add golden warmth by including historical citrus plates from our Lemon Kitchen Print.
5. Illuminating Your Herbarium Collection
Artwork comes alive under intentional illumination:
- **Color Temperature**: Use **2700K to 3000K warm white LED lighting**. Cool 4000K+ office lighting makes vintage parchment look grey and washed out.
- **Picture Lights**: Mount an antique brass picture light 6 inches above your primary center frame for dramatic evening ambiance.
Explore our full range of vintage plates in the Vintage Botanicals Collection and curate large walls with the Botanical Gallery Wall Art Bundle.